实验笔记之——基于ESIM及Gazebo生成合成的事件数据
引言
本博文记录了采用Super-SloMoe以及ESIM来实现从已有图像数据中产生event数据。 这对于基于学习的方法在事件相机的应用具有重要意义,它可以提供大量的训练数据来训练模型。 本文是基于rpg_vid2e项目的开发,并对代码做了一定的改进。 此外,还记录了采用Gazebo来仿真event camera的实验。
配置及测试
首先,构建一个新的conda环境,然后安装所需的依赖项。
  conda create --name vid2e python=3.9
  conda activate vid2e
  pip install -r requirements.txt
  conda install pybind11 #此处不要安装matplotlib
  #注意要指定一下pytorch的版本(按原版的实现会出错)
  conda install pytorch==1.12.0 torchvision==0.13.0 torchaudio==0.12.0 cudatoolkit=11.3 -c pytorch

  #删除已有环境
  conda env list
  conda remove --name vid2e --all

  #遇到conda创建很慢
  conda config --show #看看channels
  conda config --show channels
  conda config --remove channels conda-forge
然后安装ESIM_py版本
  pip install esim_py/
  pip install setuptools==69.5.1
  pip install esim_torch/
测试是否安装成功
  conda activate vid2e
  python esim_py/tests/test.py
  #如果报错GLIBCXX_3.4.30(这个应该是链接库有问题)
  ln -sf /usr/lib/x86_64-linux-gnu/libstdc++.so.6 /home/gwp/miniconda3/envs/vid2e/lib/libstdc++.so.6
  export LD_PRELOAD=/usr/lib/x86_64-linux-gnu/libtiff.so.5
然后安装及测试esim_torch版本(注意服务器端直接用会报错,因为要可视化,因此采用ipynb)
  pip install esim_torch/
  python esim_torch/test/test.py

  #采用ipynb,选择kernel为vide的,在服务器终端运行下面命令可以使得加载kernel会更快
  pip install ipykernel
😀注意:关于错误“cannot import name 'mplDeprecation' from 'matplotlib._api.deprecation”。应该是在requirements就已经指定了pip install matplotlib==3.5.1,但是作者在conda install -y -c conda-forge pybind11 matplotlib又安装了一次。解决方案见下:
  pip install -r requirements.txt --force-reinstall
  #然后重启ipynb的kernel,在终端安装更快:pip install ipykernel
- 用ESIM生成event并用不同的event representation来可视化请见:Link
  #下载到当前目录
  wget https://rpg.ifi.uzh.ch/data/VID2E/pretrained_models.zip
  #解压
  unzip pretrained_models.zip

  device=cpu
  # device=cuda:0
  python upsampling/upsample.py --input_dir=example/original --output_dir=example/upsampled --device=$device
  #输入的数据目录为example/original,输出数据目录为example/upsampled
- 用ipynb记录的upsampling+ESIM请见:Link
采用HKU数据集进行real-event data与sim-event data对比
对于python环境中,如果没有预先安装ros,则需要先安装一下的ros的python库。
  pip install --extra-index-url https://rospypi.github.io/simple/ rospy rosbag

  pip install rosbag_pandas

  pip install cv_bridge

  pip install sensor_msgs --extra-index-url https://rospypi.github.io/simple/

  pip install geometry_msgs --extra-index-url https://rospypi.github.io/simple
接下来通过3个ipynb文件来进行实验:
- 读入rosbag并可视化image及其对应的event:Link(这个主要用来熟悉如何用py及ipynb实现rosbag的读取及事件数据的可视化)
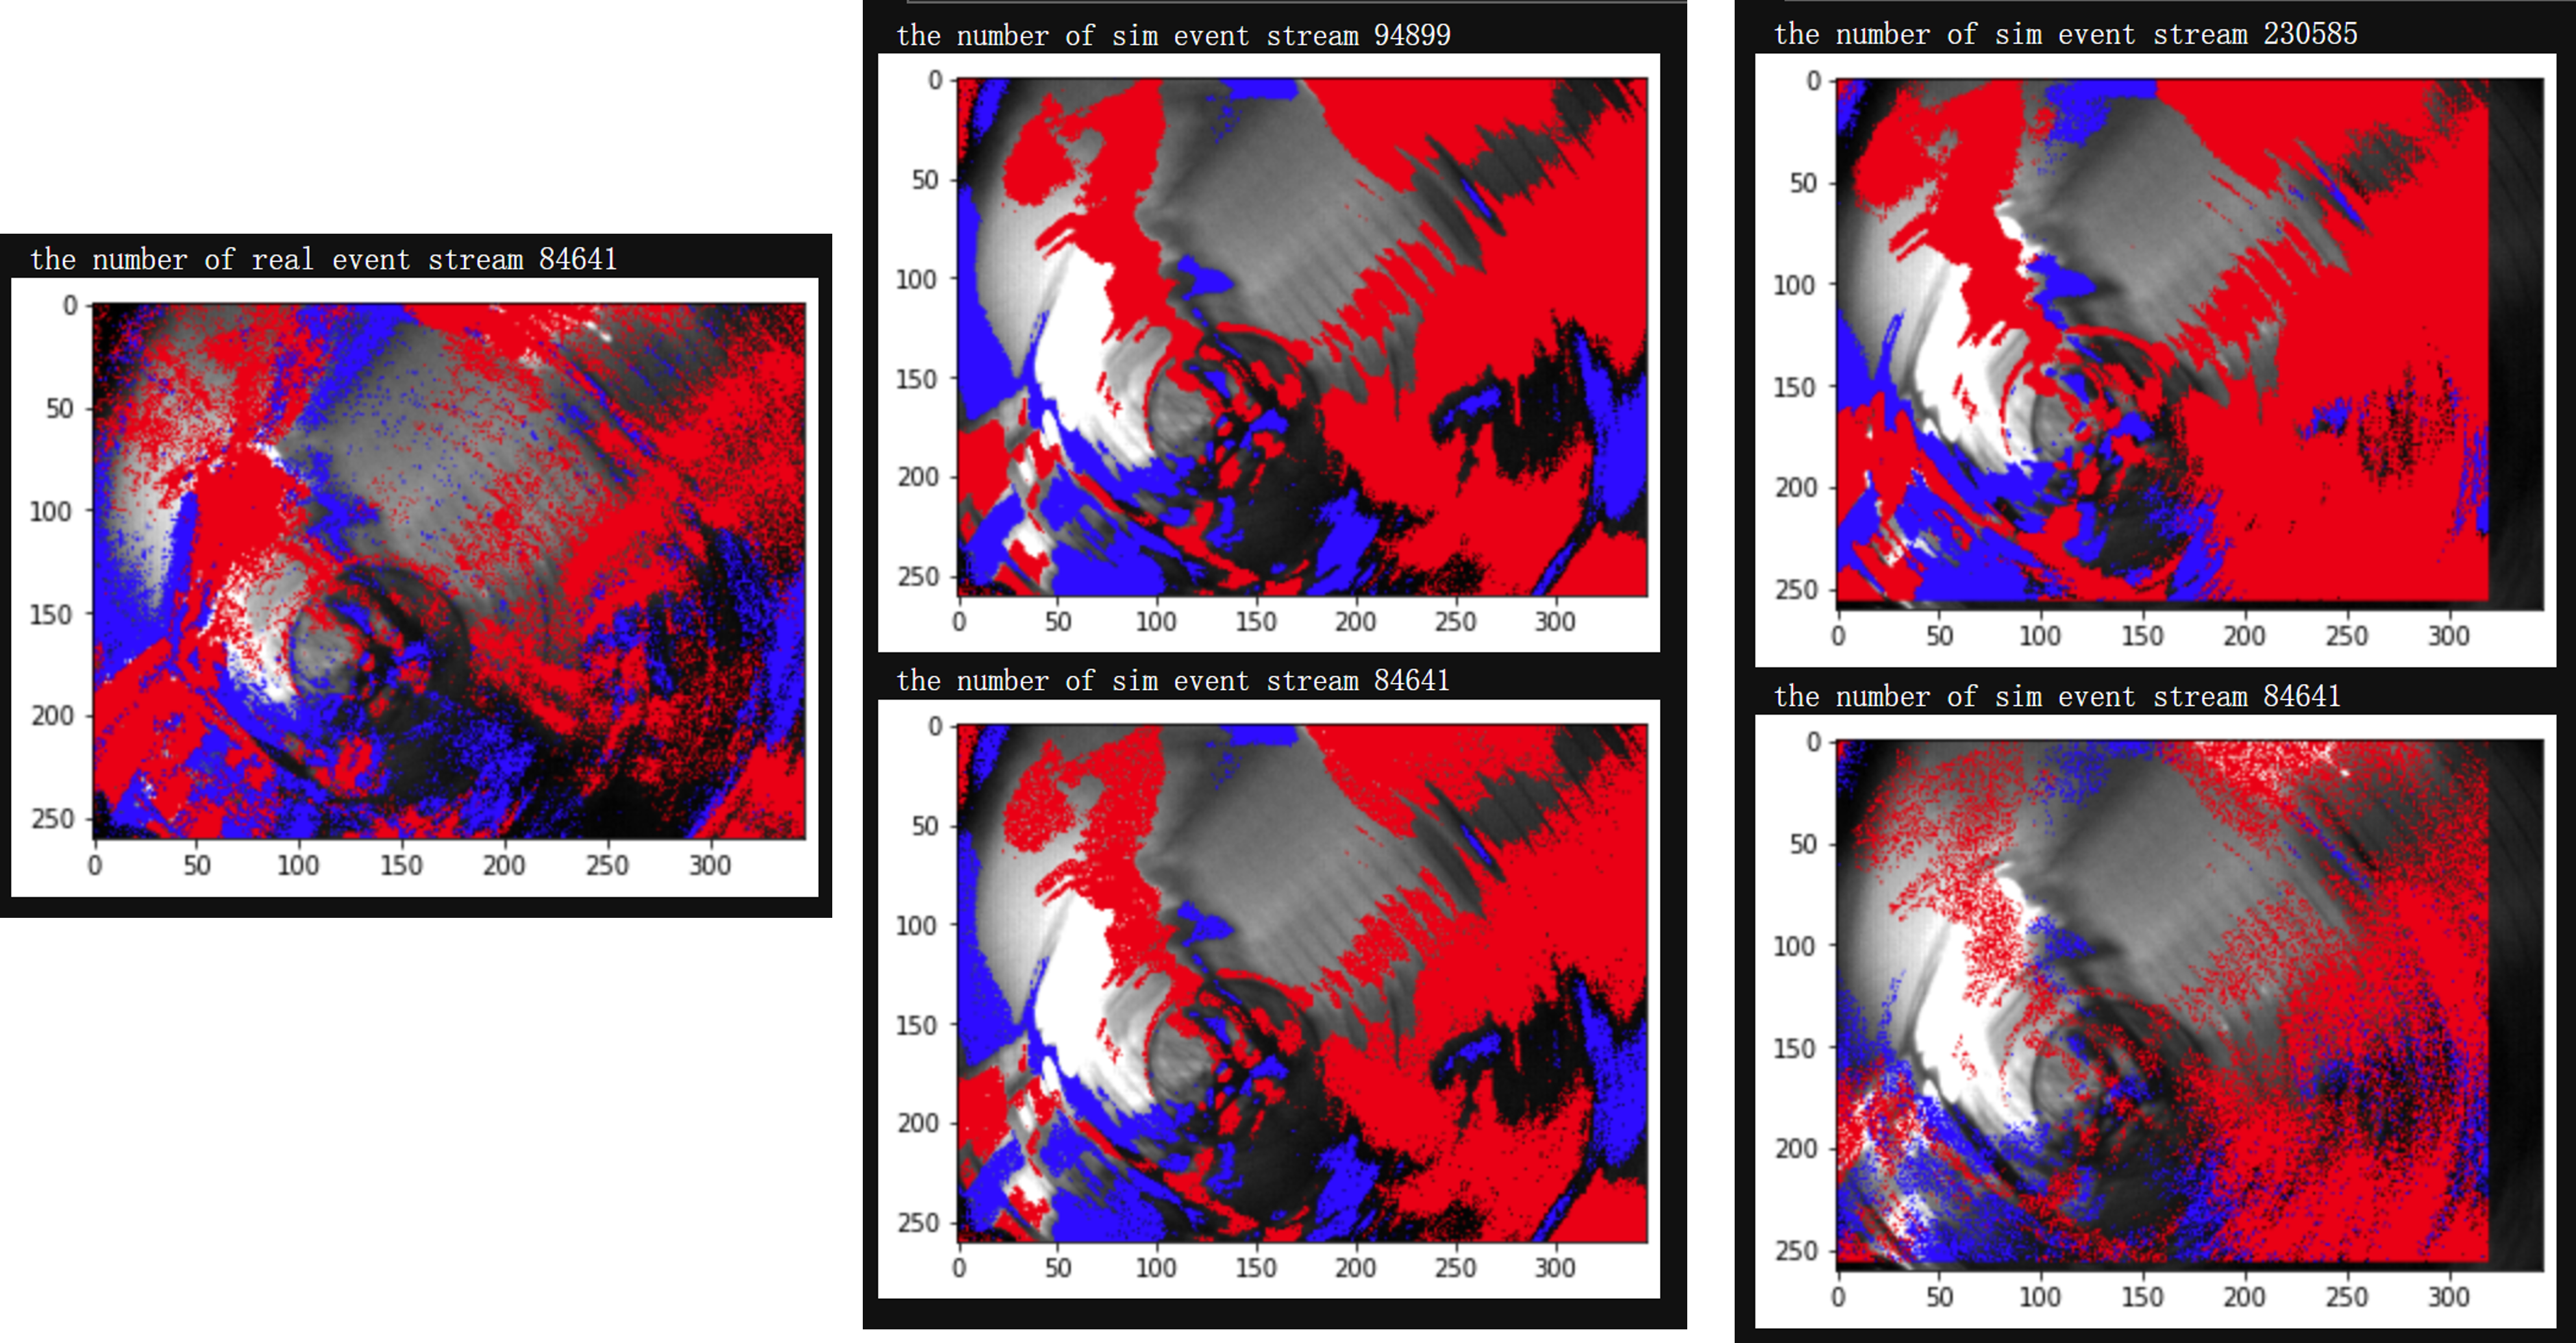
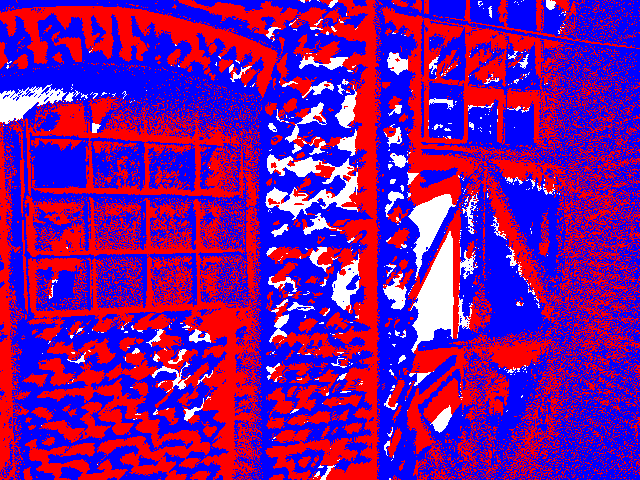
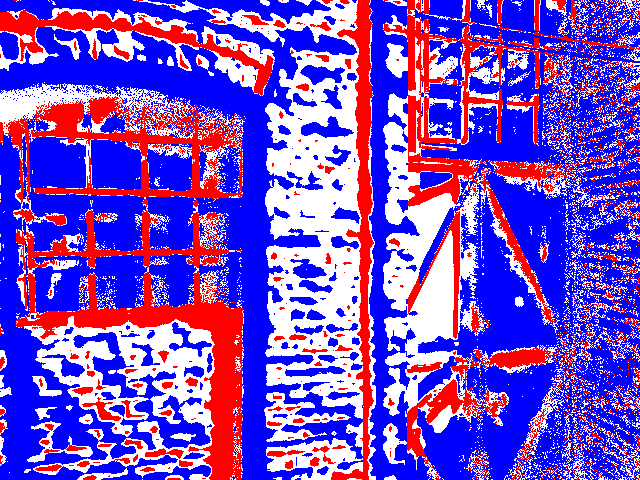
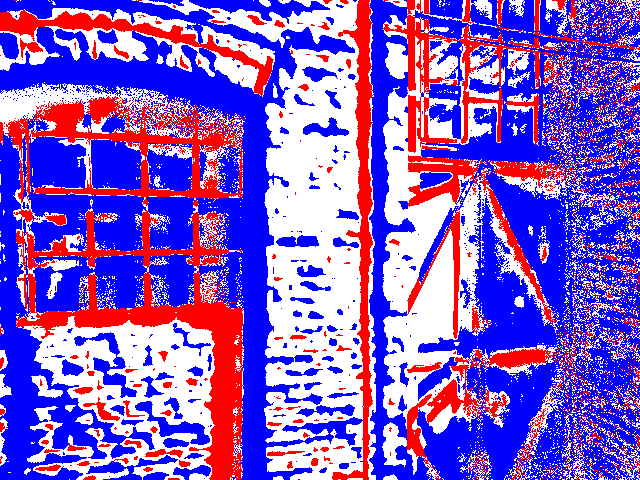
- 读入rosbag,然后将其中的10张图片生成event,同时与10张图片期间的真实的event进行可视化对比:Link
- 在上面的基础上,改为先对10张图片进行上采样(learning model)然后再生成sim event:Link
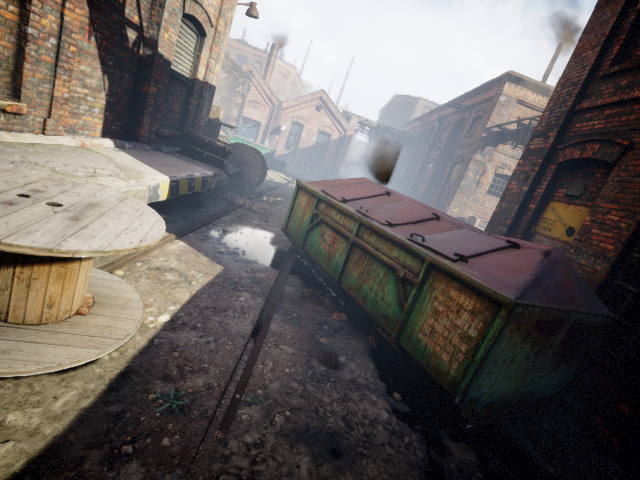
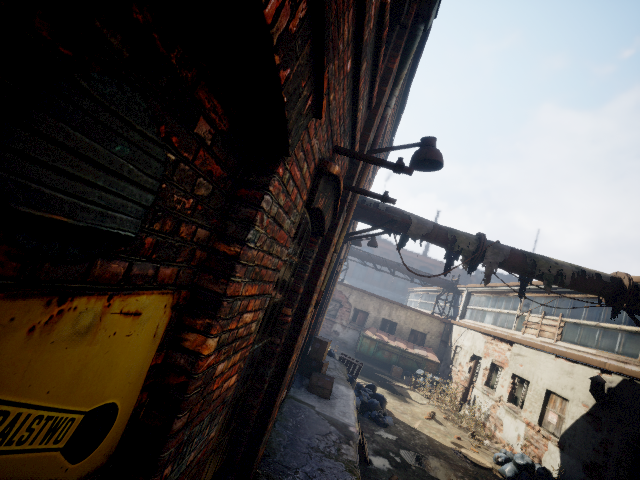
采用TartanAir生成event 数据集
首先需要下载TartanAir中所有的数据,采用工具链接tartanair_tools。
  cd thirdparty/tartanair_tools/
  pip install boto3 #需要安装依赖~
  python download_training.py --output-dir ../../datasets --rgb --depth --only-left
然后采用下面的代码来实现把TartanAir的数据转换成event数据:
conda activate vid2e #解压文件(此步骤可以省略,因为下面的convert_tartan.py文件已经实现了) unzip filename.zip -d foldername unzip datasets/abandonedfactory_Easy_image_left.zip -d datasets/TartanAir #进行数据的转换,获取event pip install hdf5plugin python scripts/convert_tartan.py --dirsfile=datasets/converted.txt关于convert_tartan.py的代码实现请见:Code Link


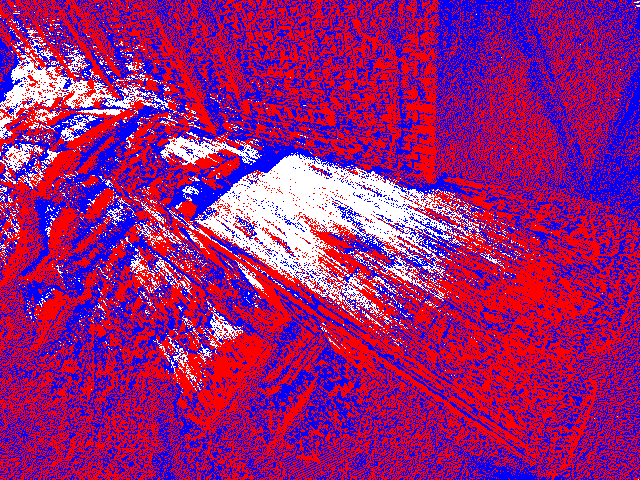

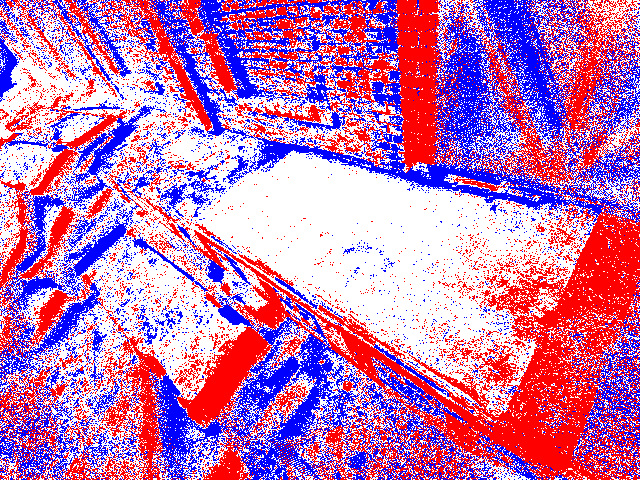


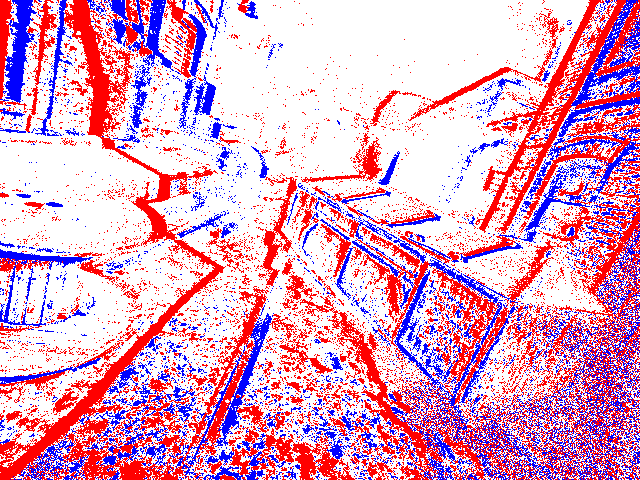

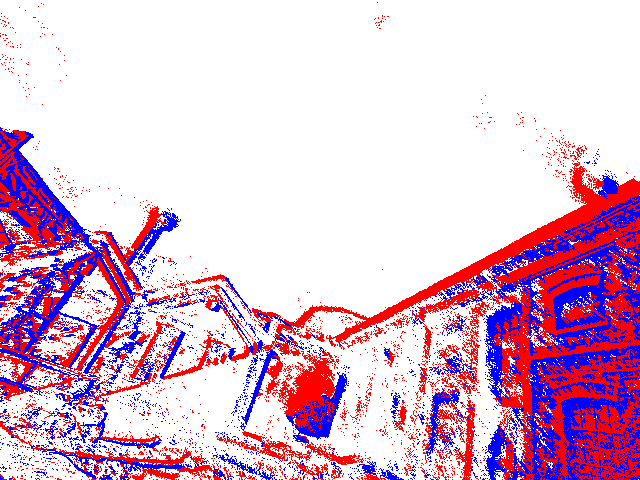
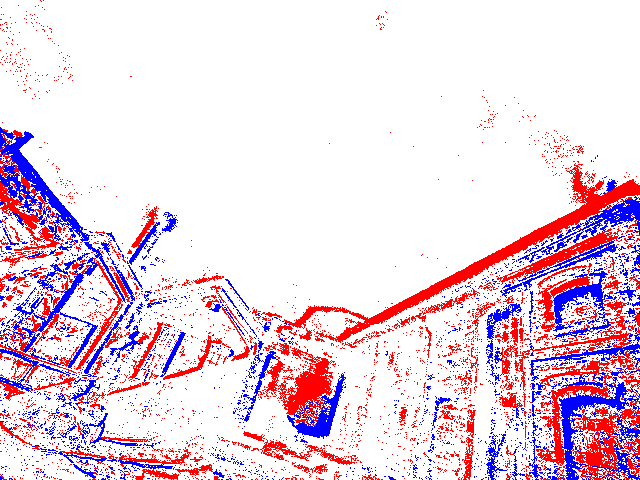
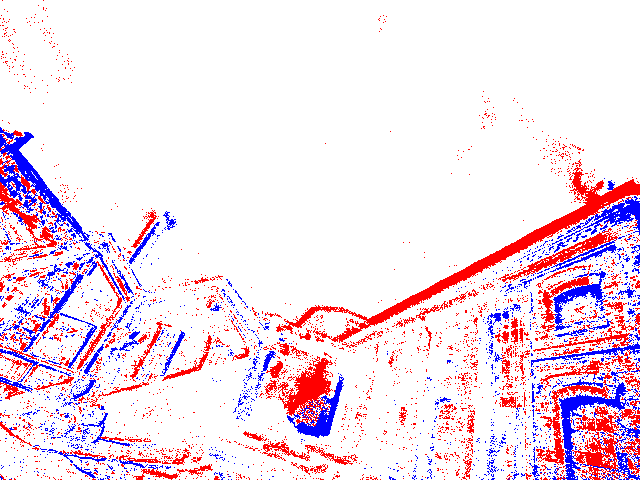
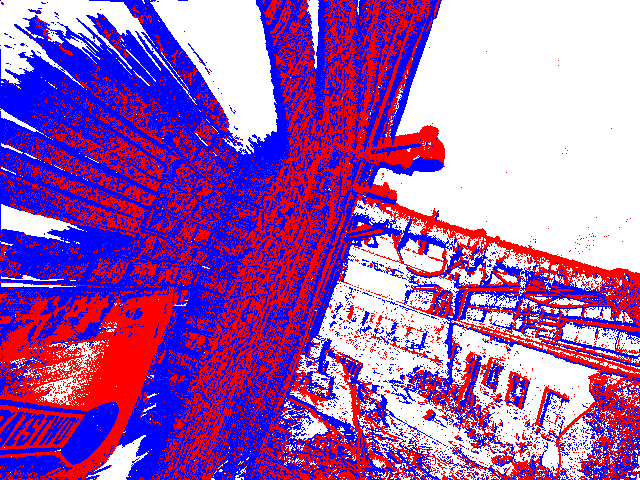
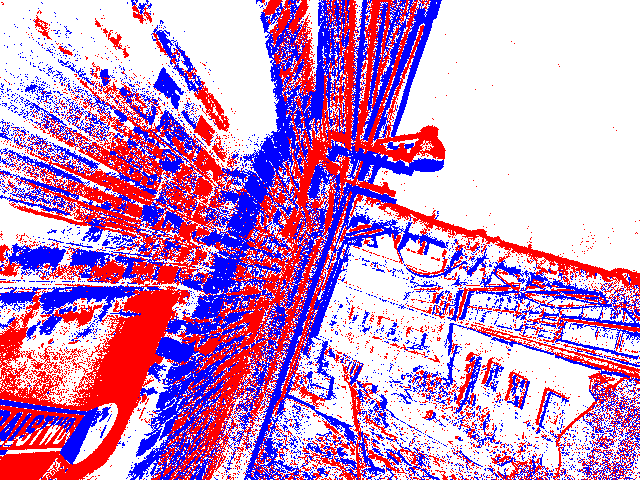
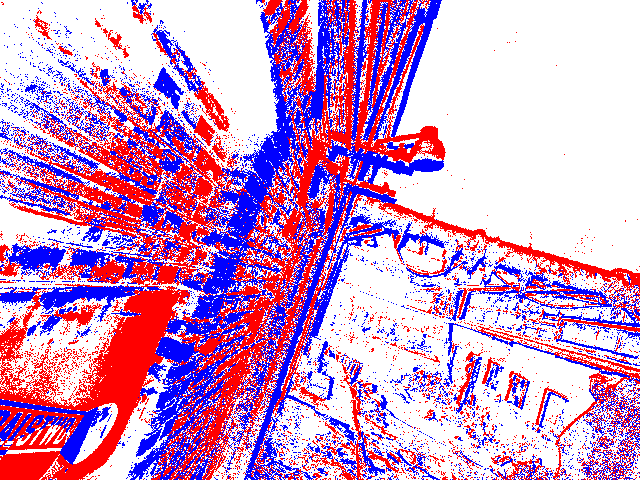

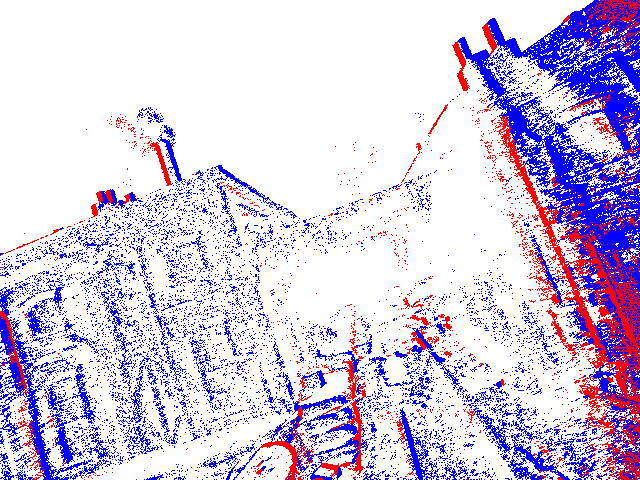
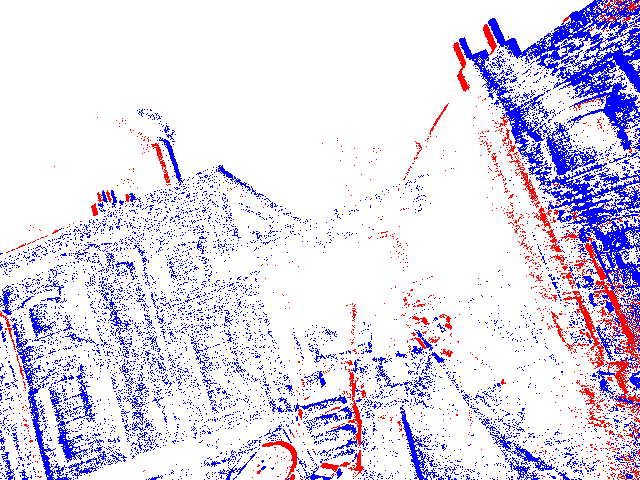
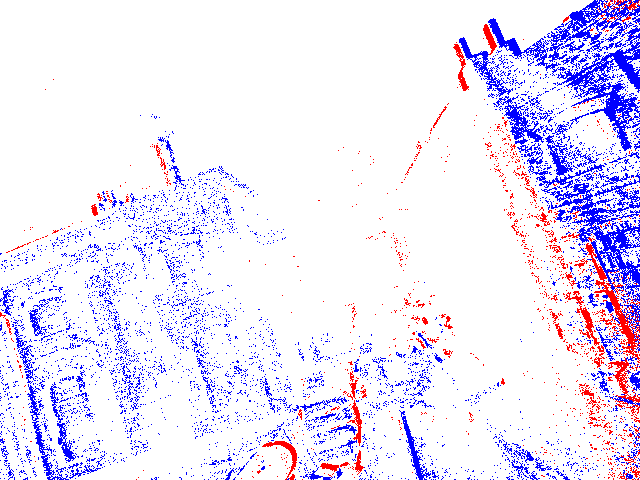

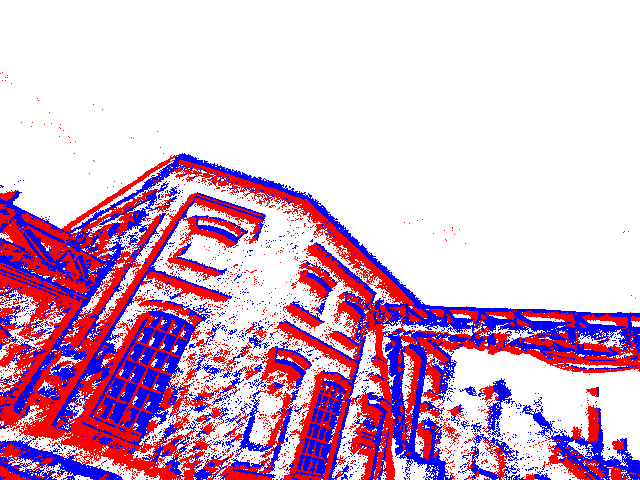
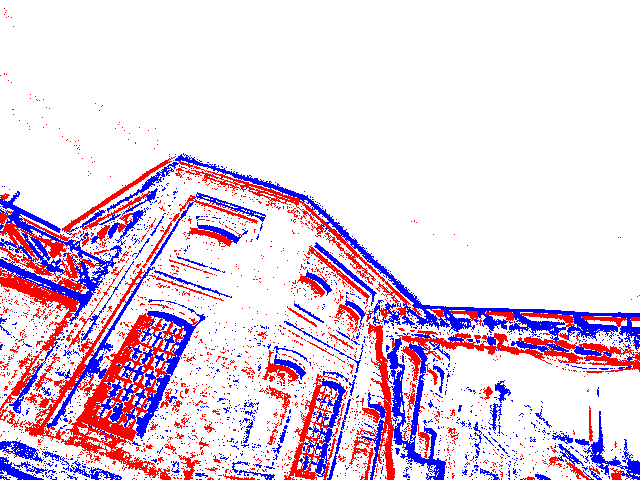
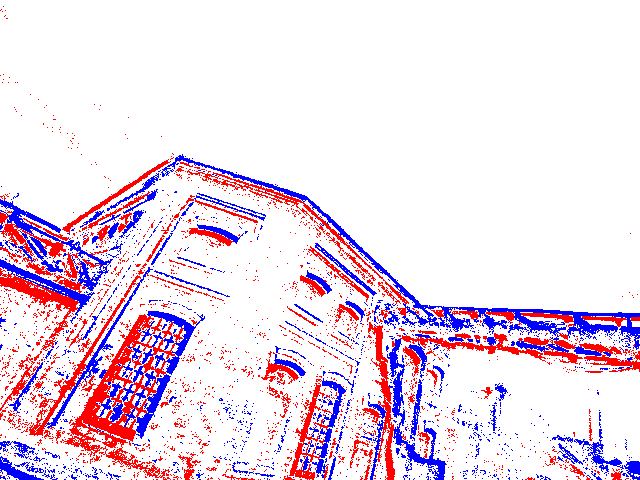
从实验效果可见,进行了上采样(约为1.2 X 10¹¹)后并不见得得到更好的效果,因此在实际应用中需要根据具体的情况来选择是否进行上采样。 对于上采样的情况,可以理解为在原有的数据上进行了一定的插值,从而得到了更多的事件数据,进而让累计成一帧的事件量更加的丰富。 而实际上事件量(或者说一帧下的事件量)并没有如此之多。 至于采用10fps或25fps帧率产生的事件,应该仅仅受到ESIM代码中无事件响应时间的大小限制,两者的效果并没有太大的差异(分别为2.0 X 10¹⁰以及1.7 X 10¹⁰)。
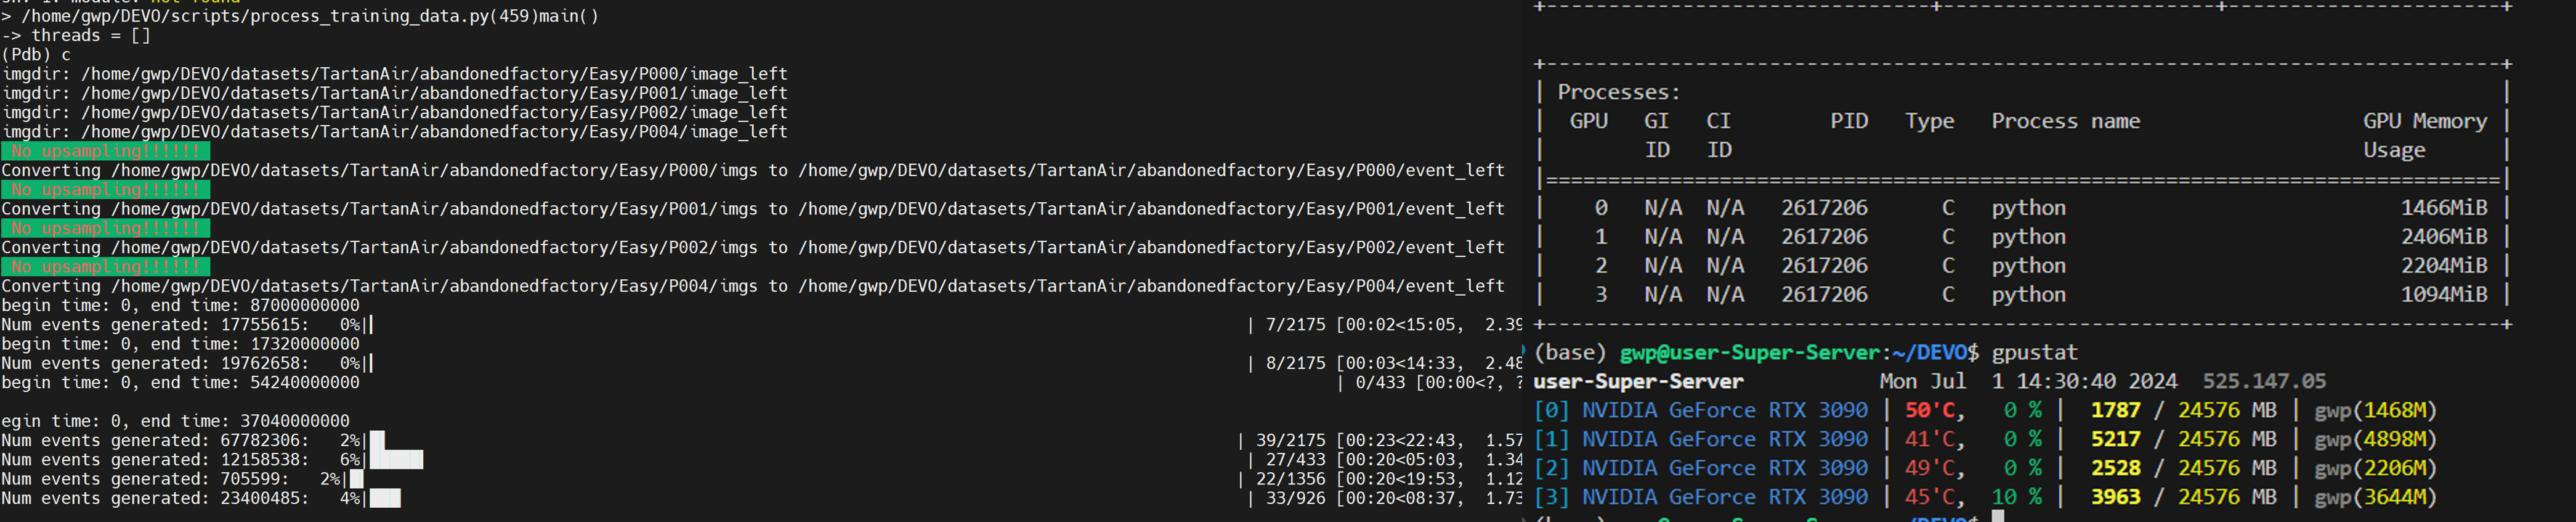
采用多线程处理
进一步地,通过多线程处理来加速数据的生成,具体的代码实现请见:代码链接。
同时,将原始的事件以.h5格式保存,以便后续的训练。
并将事件及图像数据以视频流的形式保存出来~
采用Gazebo来仿真event camera
- 详细配置过程请见博客:Link
参考资料
- 具体的实现代码请见链接ESIM_comment and DEVO_comment.
- 采用pdb对python代码进行debug:Link