引言
之前博客(Easi3R,MonST3R)复现了基于Transformer(主要以DUSt3R为主)的SLAM系统在动态场景下的4D重建。
本博文实测一些动态序列对于MASt3R以及MASt3R-SLAM的性能影响。
本博文仅为本人学习记录用~
相关的资料:
- MASt3R的复现:blog
- MASt3R-SLAM的复现:blog
- Survey for Transformer-based SLAM:Paper List and Blog
- 博客:What is Transformer? Form NLP to CV
- Survey for Dynamic SLAM: blog
MASt3R in Dynamic Scene
- 使用的代码见MASt3R_comment的a100分支
安装配置
#下载代码链接,并切换分支a100
git clone --recursive git@github.com:KwanWaiPang/MASt3R_comment.git
# rm -rf .git
- 创建环境:
conda create -n mast3r python=3.11 cmake=3.14.0
conda activate mast3r
# conda remove --name mast3r --all

conda install pytorch torchvision pytorch-cuda=12.1 -c pytorch -c nvidia  # use the correct version of cuda for your system A100中采用的为cuda12.2
pip install -r requirements.txt
pip install -r dust3r/requirements.txt
# Optional: you can also install additional packages to:
# - add support for HEIC images
# - add required packages for visloc.py
pip install -r dust3r/requirements_optional.txt
- 安装ASMK
pip install cython

git clone https://github.com/jenicek/asmk
cd asmk/cython/
cythonize *.pyx
cd ..
python3 setup.py build_ext --inplace
cd ..
- 安装RoPE
# DUST3R relies on RoPE positional embeddings for which you can compile some cuda kernels for faster runtime.
cd dust3r/croco/models/curope/
python setup.py build_ext --inplace
cd ../../../../
- 下载模型
mkdir -p checkpoints/
wget https://download.europe.naverlabs.com/ComputerVision/MASt3R/MASt3R_ViTLarge_BaseDecoder_512_catmlpdpt_metric.pth -P checkpoints/
运行测试
conda activate mast3r
conda install faiss-gpu
# python3 demo.py --model_name MASt3R_ViTLarge_BaseDecoder_512_catmlpdpt_metric
CUDA_VISIBLE_DEVICES=0 python3 demo.py --model_name MASt3R_ViTLarge_BaseDecoder_512_catmlpdpt_metric
# vscode终端运行上面命令后,本机网页打开(采用的是网页UI)

# Use --weights to load a checkpoint from a local file, eg --weights checkpoints/MASt3R_ViTLarge_BaseDecoder_512_catmlpdpt_metric.pth
# Use --retrieval_model and point to the retrieval checkpoint (*trainingfree.pth) to enable retrieval as a pairing strategy, asmk must be installed
# Use --local_network to make it accessible on the local network, or --server_name to specify the url manually
# Use --server_port to change the port, by default it will search for an available port starting at 7860
# Use --device to use a different device, by default it's "cuda"

demo_dust3r_ga.py is the same demo as in dust3r (+ compatibility for MASt3R models)
see https://github.com/naver/dust3r?tab=readme-ov-file#interactive-demo for details
- 采用lady-running数据(应该是只能上传图片而非视频)
其效果如下:
通过可视化的点云来看,个人觉得其实效果没有很差,只是没有把动态点云检测出来
- 下面通过代码link来测试匹配的效果
conda activate mast3r
pip install ipykernel
 frame0 与 frame1 的匹配效果
|
 frame0 与 frame30 的匹配效果
|

从图中的效果分析,虽然移动的物体在跨度大的时候会导致误匹配,但是对于增量式SLAM而言,相邻两帧的误匹配是较少的~
至于测试有宠物奔跑的场景发现,MASt3R倾向于将静态部分的信息保留下来~

MASt3R-SLAM in Dynamic Scene
- 使用的代码请见MASt3R-SLAM_comment,采用comment分支
- 在MobaXterm中运行以下代码:
cd MASt3R-SLAM
conda activate mast3r-slam

pip install plyfile

# 直接采用py脚本运行不带标定参数的
CUDA_VISIBLE_DEVICES=0 python main.py --dataset /home/gwp/monst3r/demo_data/lady-running/ --config config/base.yaml

CUDA_VISIBLE_DEVICES=0 python main.py --dataset /home/gwp/monst3r/demo_data/lady-running.mp4 --config config/base.yaml
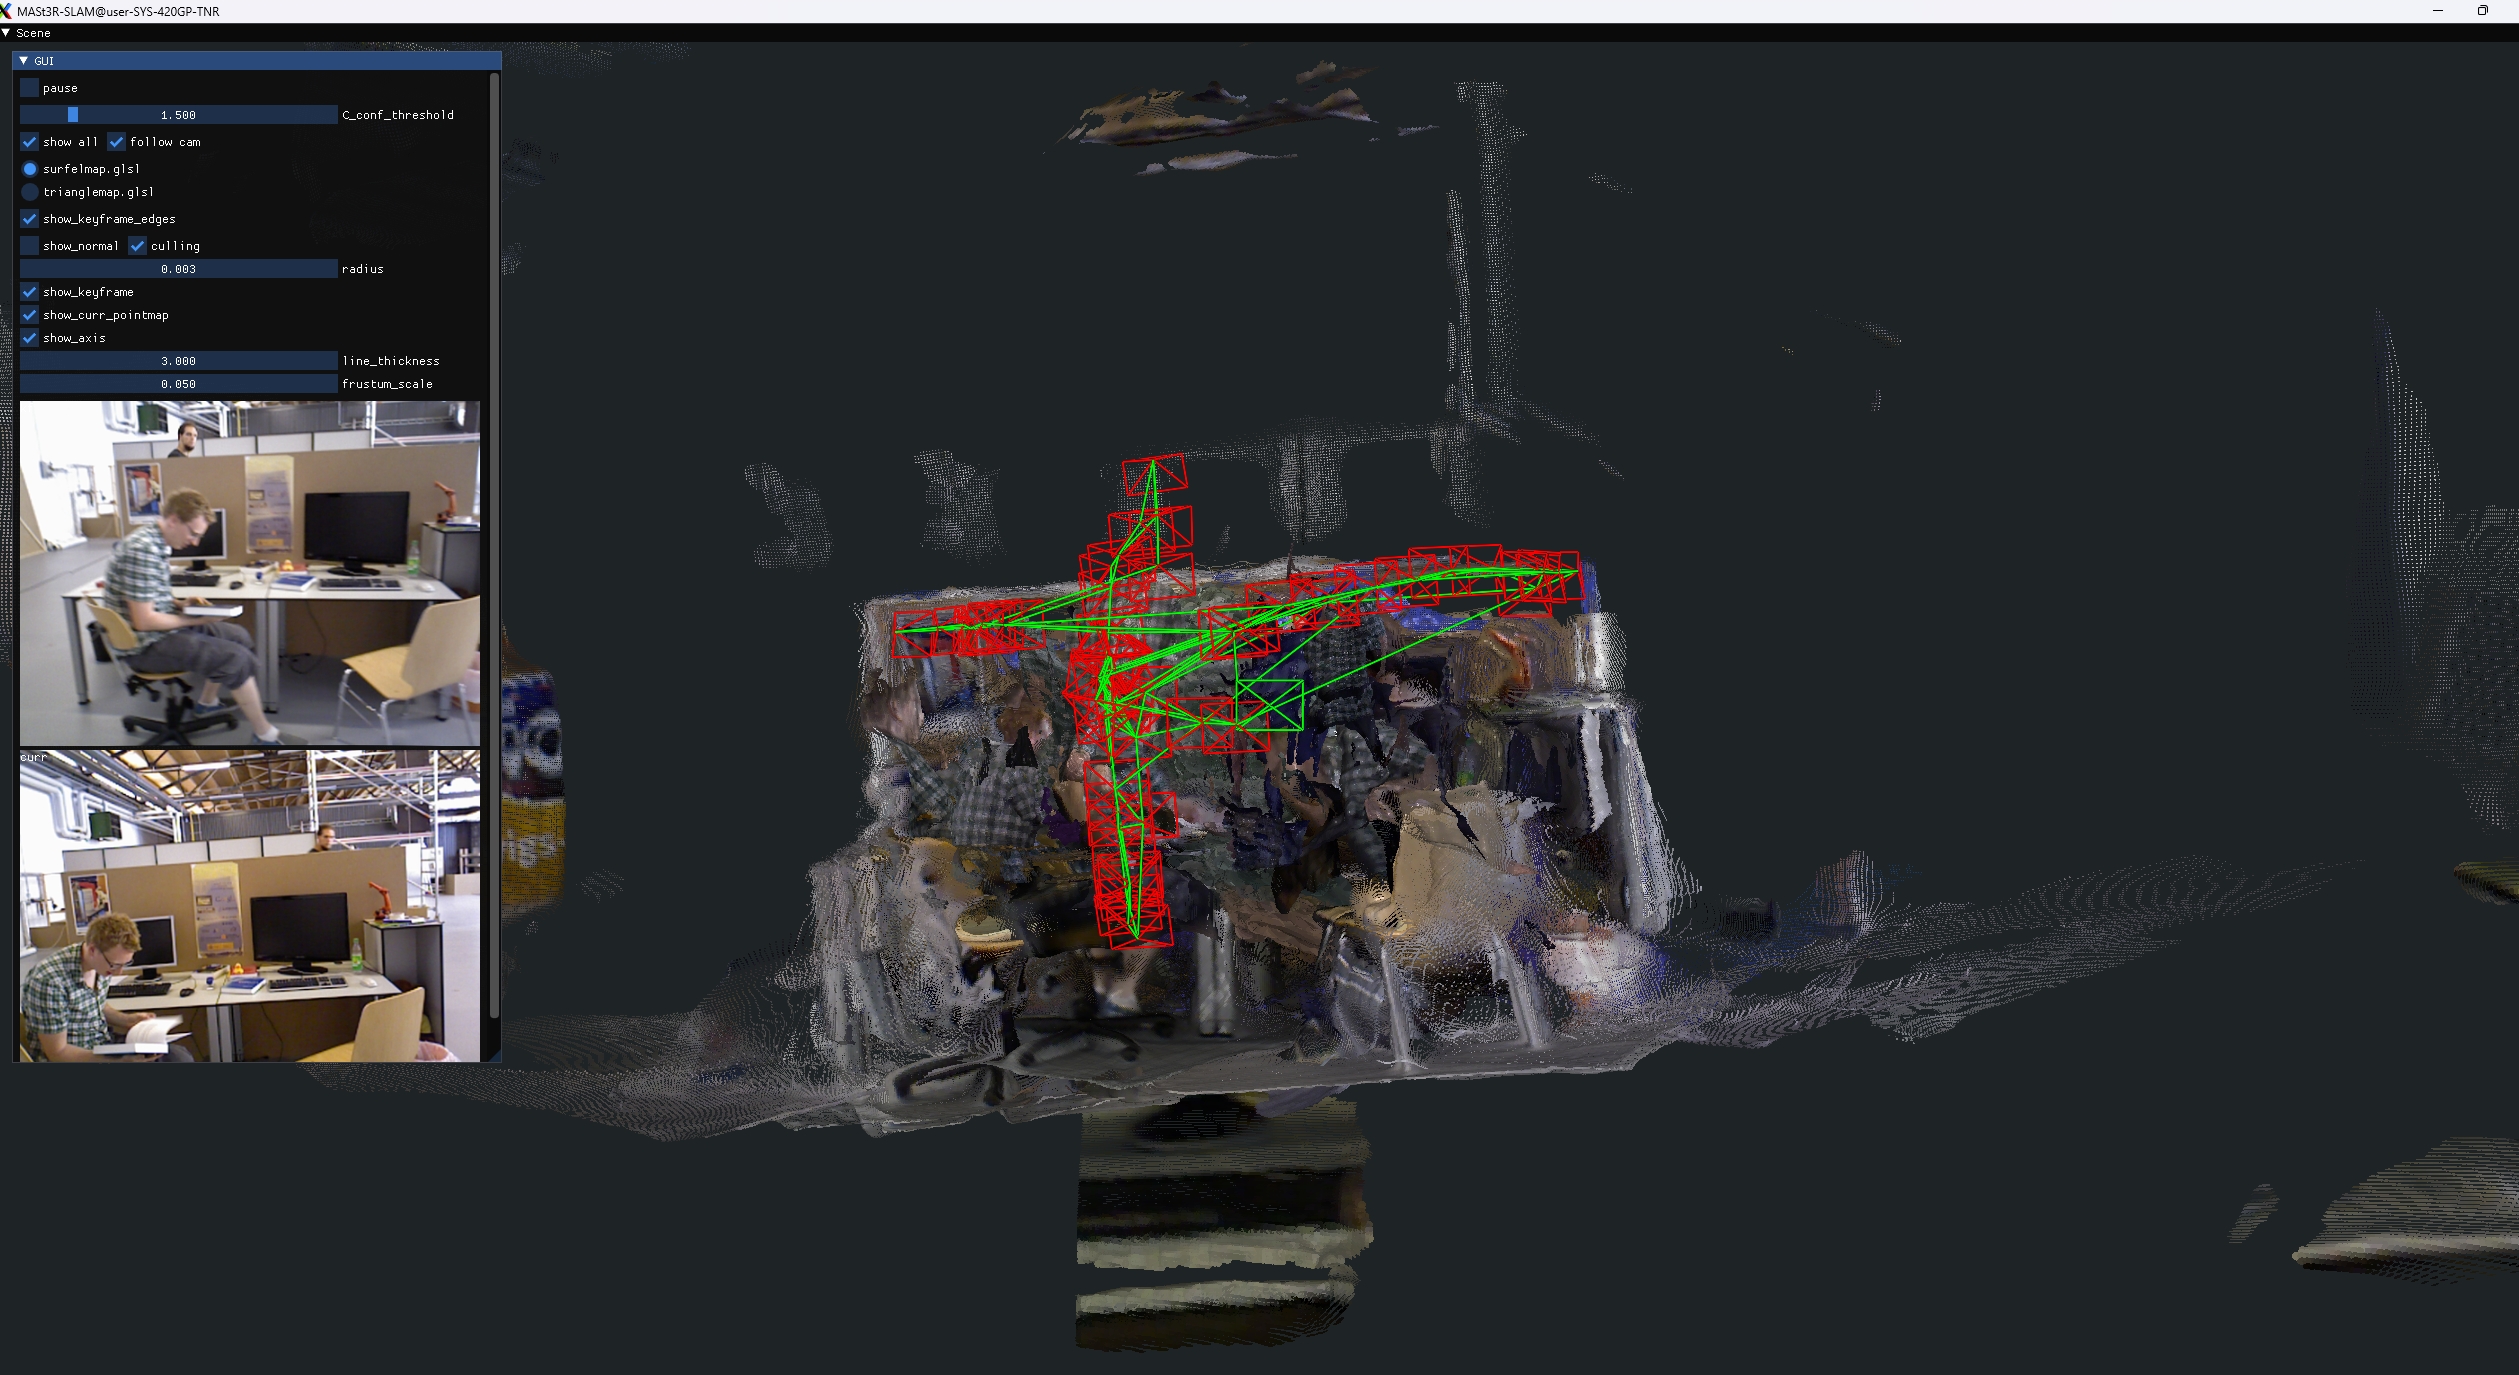
从下面看似乎效果没有受到明显的影响
- 接下来下载TUM-RGBD带有Dynamic Objects的数据集bash
bash ./scripts/download_tum_dynamic.sh


cd MASt3R-SLAM
conda activate mast3r-slam
CUDA_VISIBLE_DEVICES=1 python main.py --dataset datasets/tum_Dynamic_Objects/rgbd_dataset_freiburg2_desk_with_person/ --config config/calib.yaml

CUDA_VISIBLE_DEVICES=1 python main.py --dataset datasets/tum_Dynamic_Objects/rgbd_dataset_freiburg3_sitting_static/ --config config/calib.yaml

CUDA_VISIBLE_DEVICES=1 python main.py --dataset datasets/tum_Dynamic_Objects/rgbd_dataset_freiburg3_sitting_xyz/ --config config/calib.yaml

CUDA_VISIBLE_DEVICES=1 python main.py --dataset datasets/tum_Dynamic_Objects/rgbd_dataset_freiburg3_sitting_halfsphere/ --config config/calib.yaml

CUDA_VISIBLE_DEVICES=1 python main.py --dataset datasets/tum_Dynamic_Objects/rgbd_dataset_freiburg3_sitting_rpy/ --config config/calib.yaml

CUDA_VISIBLE_DEVICES=1 python main.py --dataset datasets/tum_Dynamic_Objects/rgbd_dataset_freiburg3_walking_static/ --config config/calib.yaml

CUDA_VISIBLE_DEVICES=1 python main.py --dataset datasets/tum_Dynamic_Objects/rgbd_dataset_freiburg3_walking_xyz/ --config config/calib.yaml

CUDA_VISIBLE_DEVICES=1 python main.py --dataset datasets/tum_Dynamic_Objects/rgbd_dataset_freiburg3_walking_halfsphere/ --config config/calib.yaml


CUDA_VISIBLE_DEVICES=1 python main.py --dataset datasets/tum_Dynamic_Objects/rgbd_dataset_freiburg3_walking_rpy/ --config config/calib.yaml


#下面是验证精度的
bash ./scripts/eval_tum.sh --no-calib
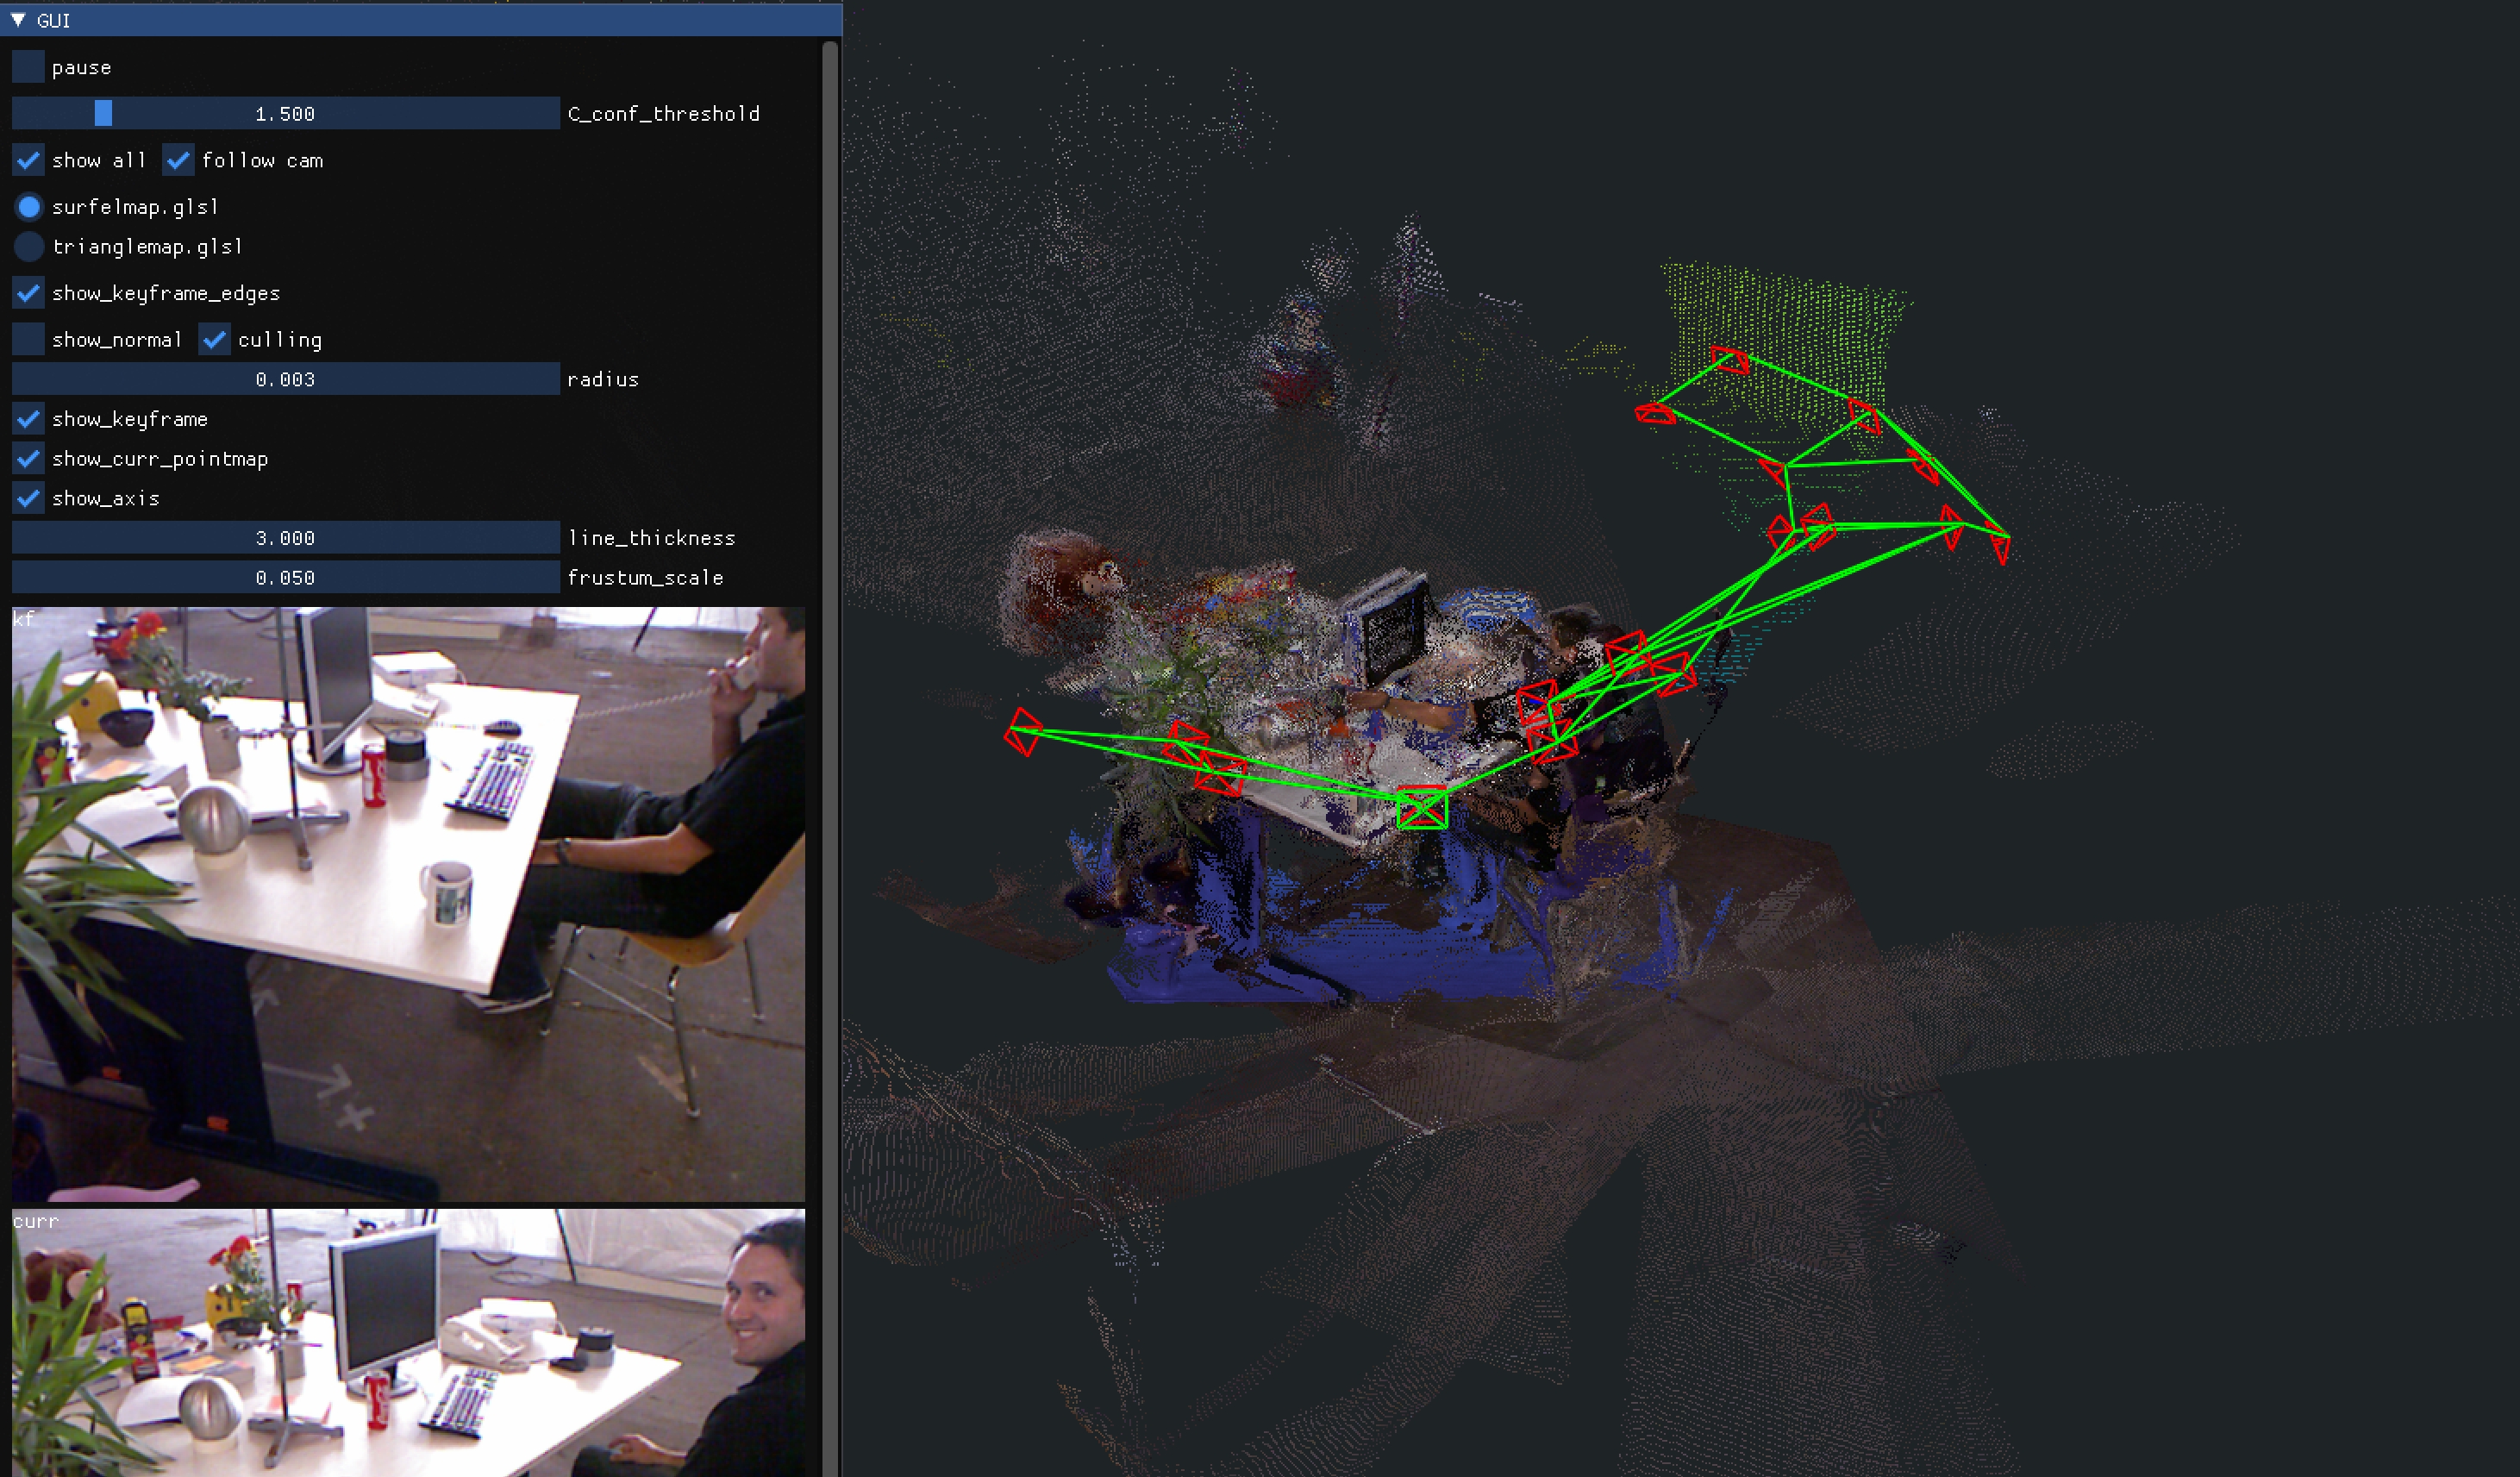
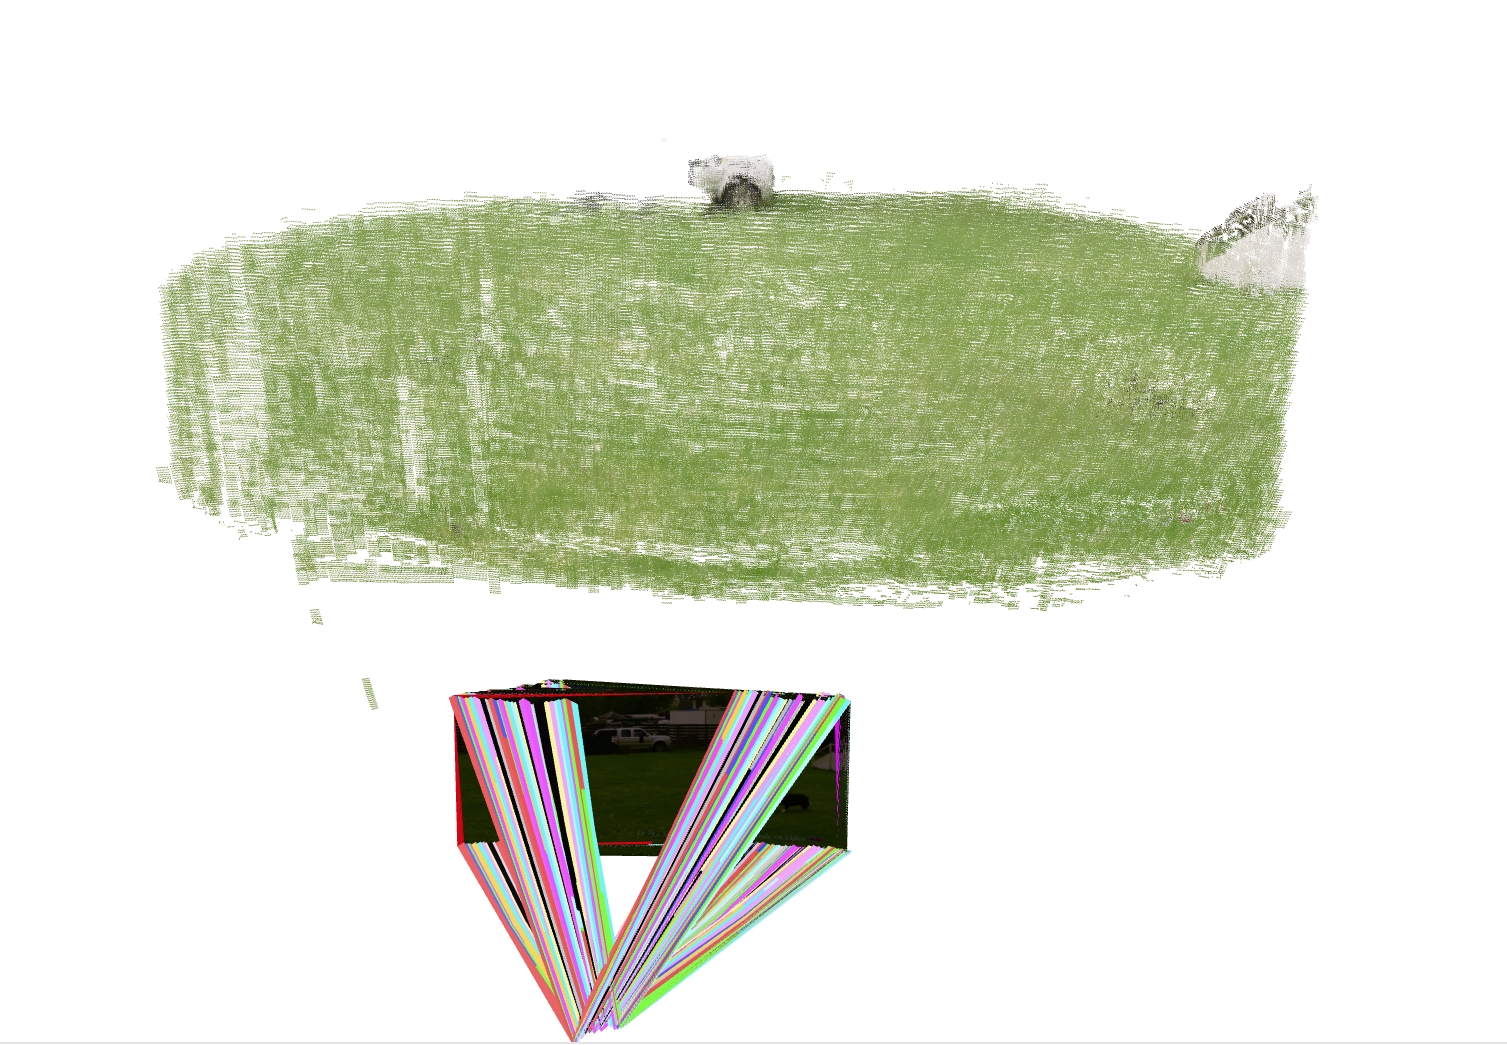
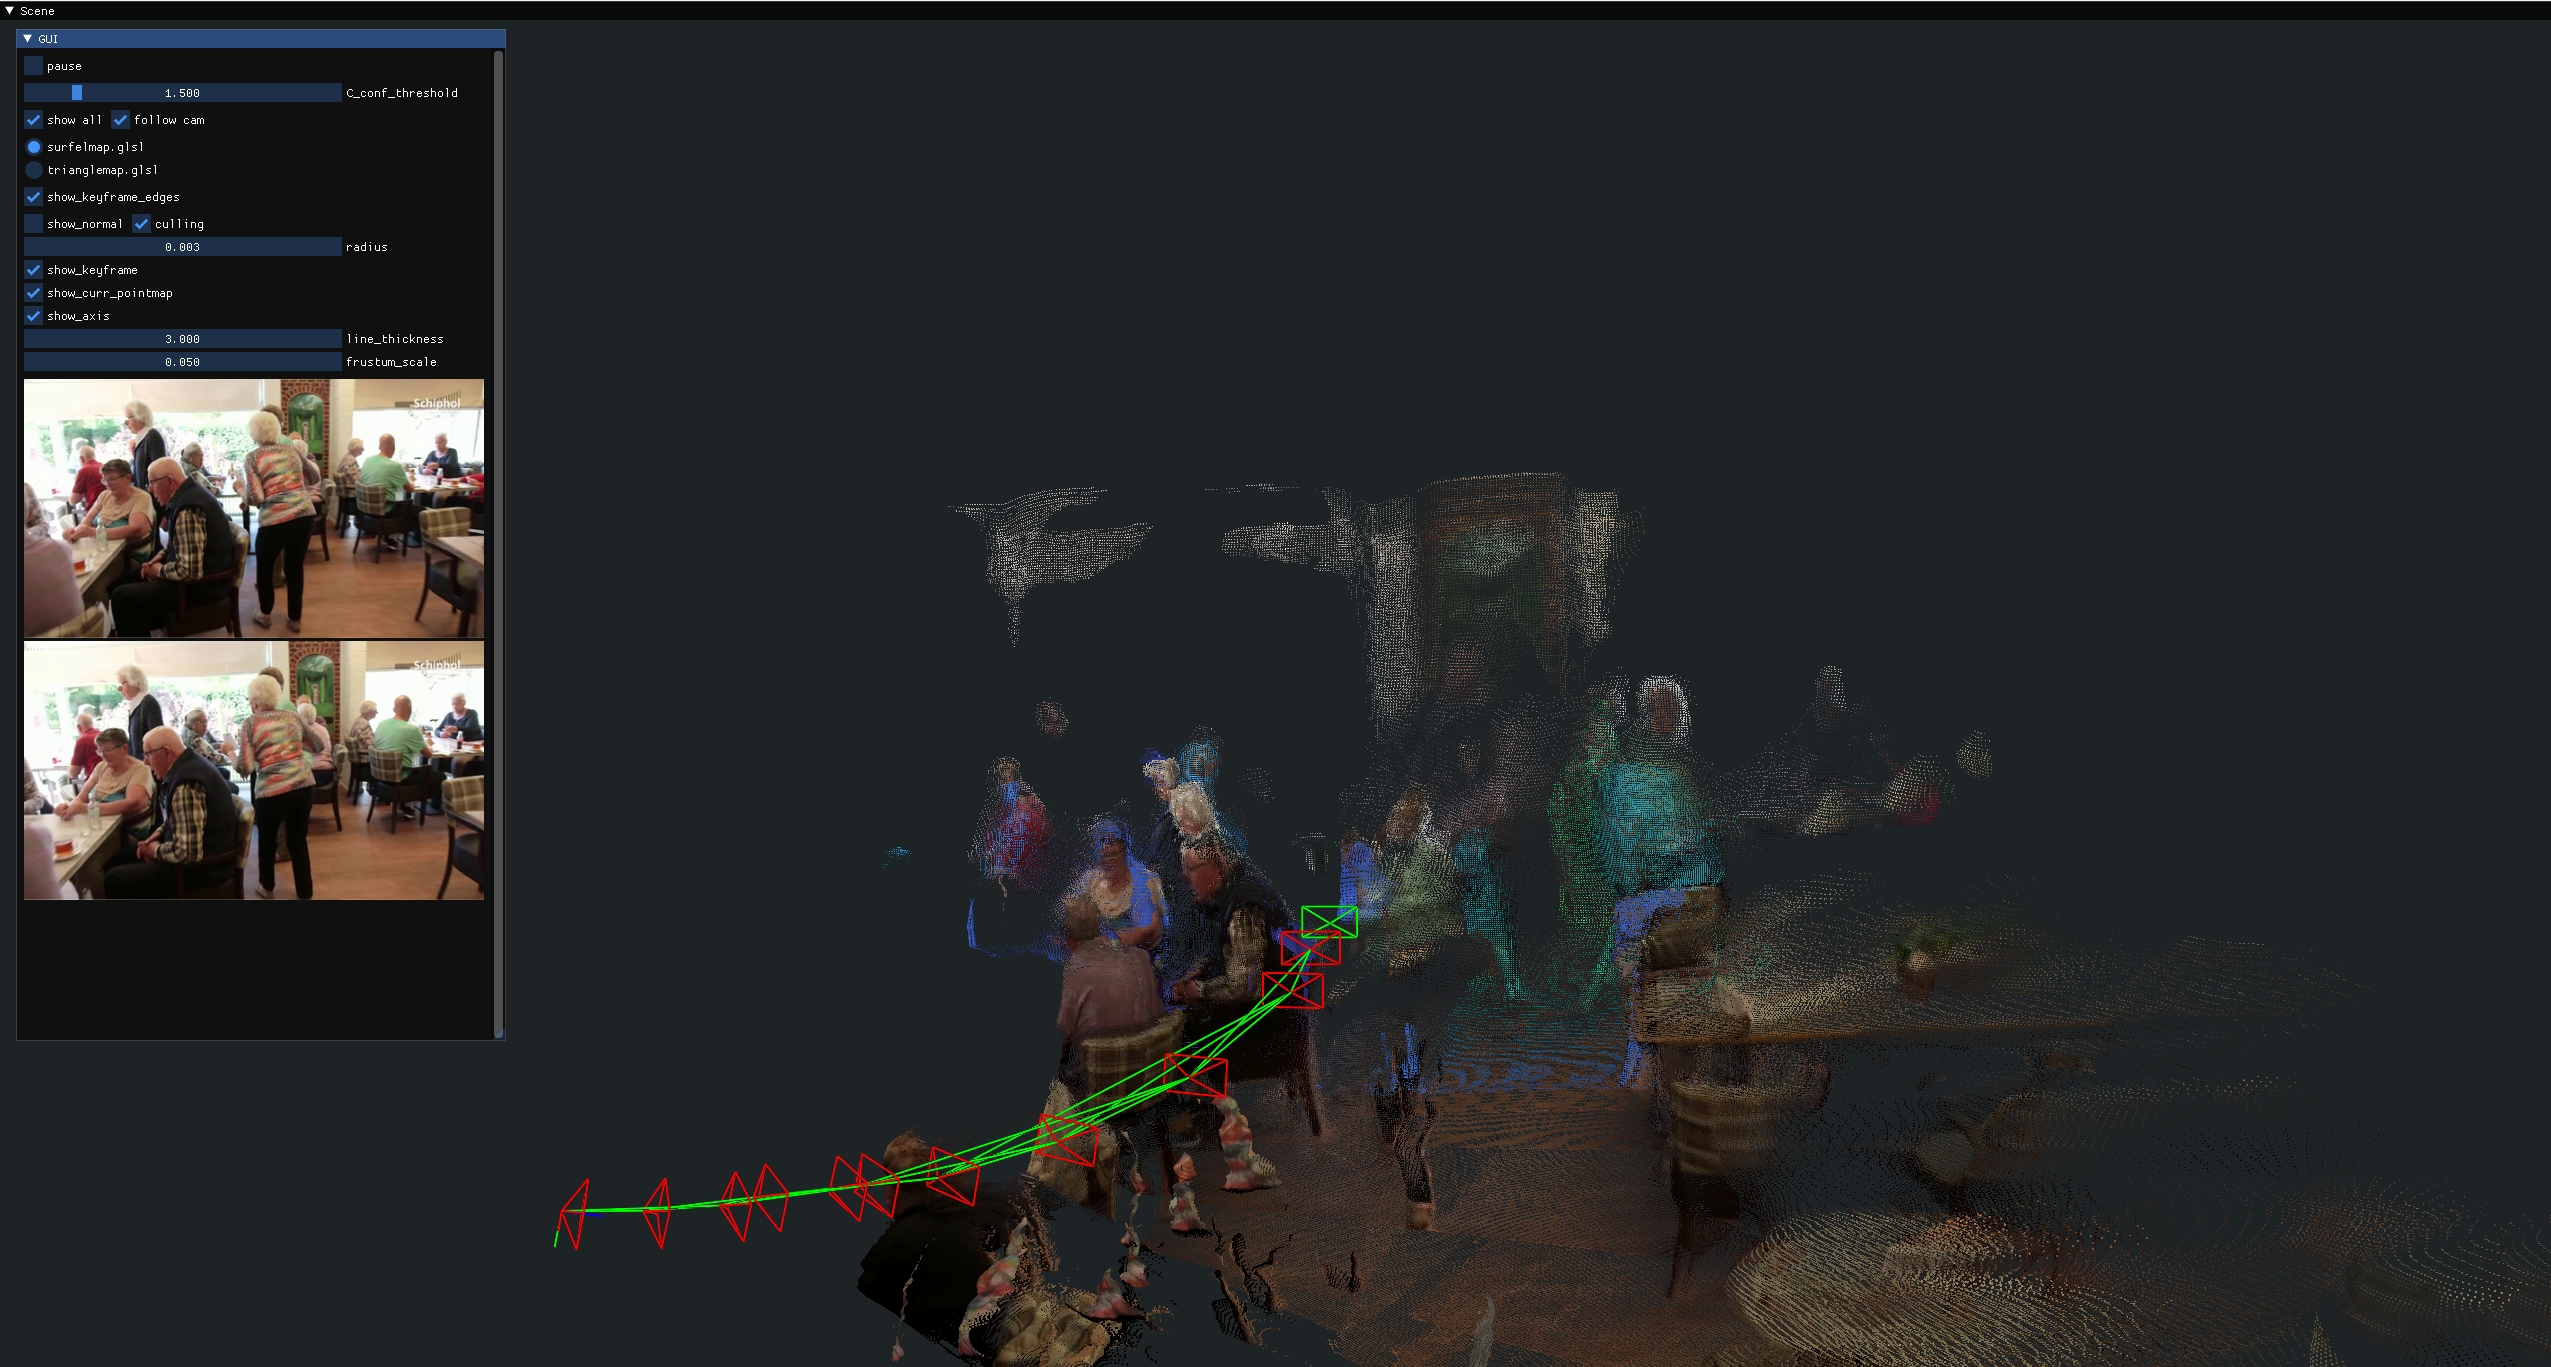
下面的demo效果会更加明显,当同时伴随着物体运动及相机运动时: